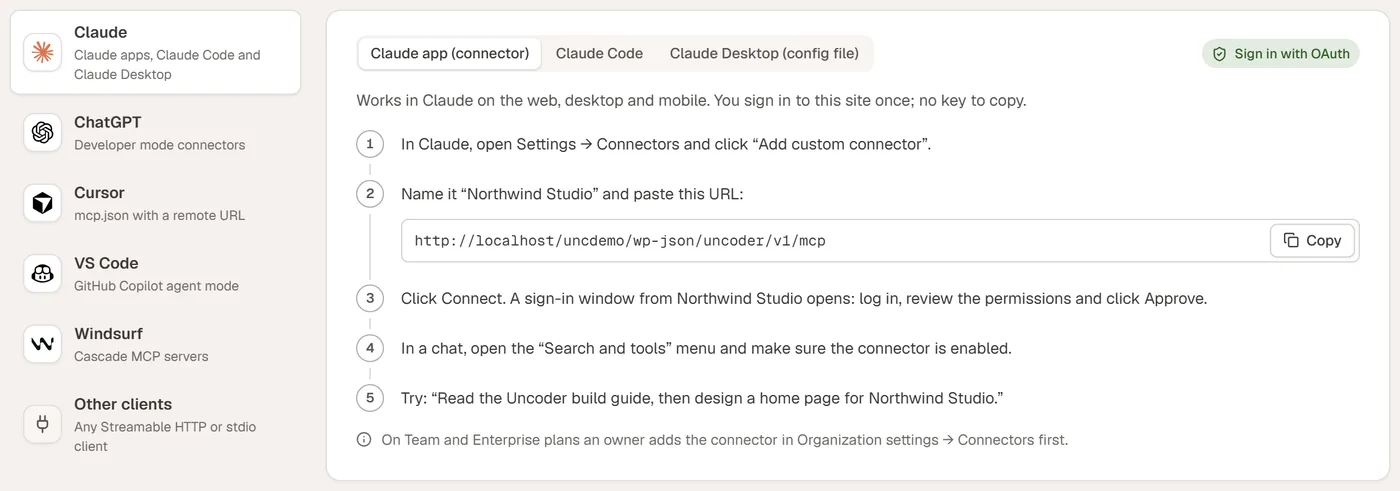
Uncoder connects Cursor and Visual Studio Code to WordPress through MCP using a connection link. This is a single URL that already carries its own key. You do not need to create a separate API key or add authentication headers to connect either editor.
The setup starts in WordPress, then continues in your chosen editor. Once the connection is working, you can ask the AI to read the Uncoder build guide and work on a page. The steps below cover both editors, how to check the connection, and how to keep the link private.
Create a connection link in WordPress
In your WordPress dashboard, open Uncoder → AI & MCP → Connect a client. Pick Cursor or VS Code, then click Create connection link.
Use the generated connection link for the editor you selected. It contains the key needed for the connection, so you do not need to copy a separate key, construct an Authorization header, or combine several values. The link itself is the connection detail you will use in the next step.
Keep that URL private. The examples below use <link> as a placeholder; replace it only in your own configuration. Do not put your actual link into public examples, shared notes, or Git-tracked files.
Connect Cursor
The direct setup option is Add to Cursor. Click it and confirm the addition in Cursor.
If you prefer to configure the connection manually, add the following entry to ~/.cursor/mcp.json:
{
  "mcpServers": {
    "uncoder": {
      "url": "<link>"
    }
  }
}
Replace <link> with the connection link generated in WordPress. If your configuration already contains other MCP servers, add the uncoder entry to the existing mcpServers object rather than replacing those entries.
The configuration needs the URL shown above, with no separate API key or headers. Because the URL carries its own key, keep this configuration out of shared or Git-tracked files.
Open Cursor’s MCP settings and check for the green dot. This is the connection check to complete before trying your first prompt. Confirm that you used the generated connection link, rather than leaving the example placeholder in the file.
Connect VS Code
In Visual Studio Code, use the connection with GitHub Copilot in agent mode. Click Install in VS Code from the Uncoder connection setup.
For manual setup, run MCP: Add Server in VS Code, choose HTTP, and paste the generated connection link. As with Cursor, use the complete link; there is no separate API key or authentication header to add.
If you use Copilot Business or Enterprise, an administrator must allow MCP servers first. Check that requirement before treating an unavailable server as a problem with your connection link. The organization-level permission is a separate prerequisite from creating the link in WordPress.
After adding the connection, start the server in VS Code. In Copilot agent mode, pick its tools so they are available for the task. Adding the server, starting it, and selecting its tools are the steps to complete before asking Copilot to work on the site.
Understand the permissions and protect the link
The connection link has Read, Content, and Design permissions. It does not include Site permissions. Keep that distinction in mind when choosing tasks: the connection has the listed permissions, rather than every available site-management permission.
The link does not expire. If you no longer need it, revoke it under Uncoder → AI & MCP → API keys in WordPress. Do not rely on it becoming inactive with time.
Treat the link as a credential whenever you copy or store it. Keep it out of shared files and Git-tracked configuration. If you need to show someone your setup, use <link> in the example instead of the actual URL.
Check the connection and try a first prompt
Before starting, check the appropriate editor:
- Cursor: its MCP settings show a green dot.
- VS Code: the server is started and its tools are selected in Copilot agent mode.
Then try:
Read the Uncoder build guide, then design a pricing page.
This prompt gives the AI a clear starting point and asks it to read the builder’s instructions before designing. Supply your real pricing and plan details when developing the page; the example prompt does not provide those facts.
For more context, explore building with AI in Uncoder and the visual editor. If you need help with the setup, visit Uncoder Support.