
Media widget
Before / After
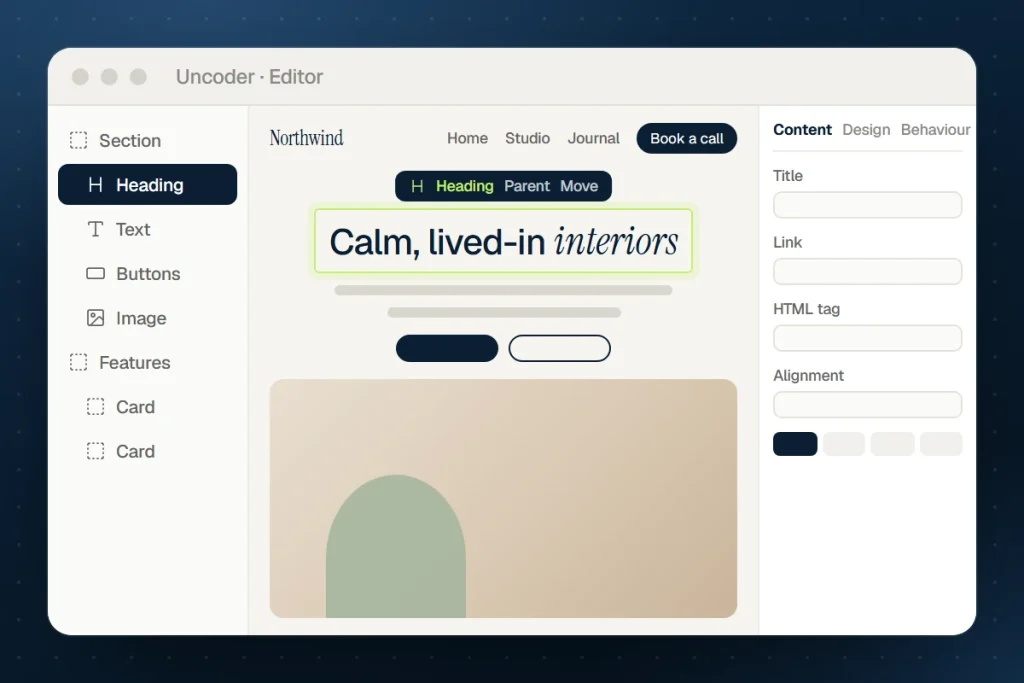
Drag a divider to compare two images: before and after, draft and final. Works with the keyboard too.
Build it with your AI
“Add a before / after slider of the draft and the finished design.”
Live demo
See it working
Settings
29 settings in three tabs
Every setting below is in the editor — and available to your AI through get_widget_schema.
Content
12 settings
Images
Before image
After image
Resolution
Before label
After label
Show labels
Labels position
Orientation
Initial position
Follow the mouse
Handle icon
Aspect ratio
Design
17 settings
Image
Border radius
Border
Shadow
Handle
Line color
Line width
Handle size
Handle background
Handle icon color
Handle radius
Handle border
Handle shadow
Labels
Typography
Color
Background
Padding
Border radius
Distance from edge
Behaviour
shared
On every element
Spacing & position
Background & border
Animations
Motion & effects
Scroll & mouse effects
Visibility
Conditions
Interactions
Attributes & CSS
Build it with AI
Just describe what you want
Your AI looks up the Before / After settings over MCP and writes the element for you — real, editable and on brand.
Claude · connected to your site
You
Add a before / after slider of the draft and the finished design.
Claude · using Uncoder
Done — it’s on your site and fully editable.
What the AI writes
{
  "type": "image-compare",
  "settings": {
    "before_image": { "id": 152 },
    "after_image": { "id": 41 },
    "before_label": "Draft",
    "after_label": "Designed"
  }
}
More media widgets
Works well with
Facebook Embed
A Facebook page, post or video on your site — loading only when a visitor asks for it.
Google Maps
A map of your address that can wait for a click before loading anything from Google.
Hotspot
An image with pulsing markers that open little tooltips.
Image Carousel
Swipe through images, several per view, with captions and a lightbox.
Image Gallery
Images in a grid, masonry or justified rows, with captions, hover effects and a lightbox.
Logo Grid
Client logos in a tidy grid or an endless marquee, in grey until hovered.